
Salesforce tracks every call, email, and deal stage. But when a prospect ignores your emails or a past-due account stops responding, a physical letter or postcard cuts through the noise in a way no digital touchpoint can. This guide walks you through exactly how to send physical mail from Salesforce — whether you're a developer building an automated workflow, a sales ops manager setting up Zapier triggers, or an AR team doing a one-time bulk export.
According to the Data & Marketing Association, direct mail achieves a response rate of 4.4% compared to 0.12% for email. For high-value accounts or time-sensitive collections, that gap matters.
Why Connecting Salesforce to Physical Mail Makes Sense
Email open rates have been declining for years. The 2025 Mailchimp Email Benchmarks put the average B2B open rate at around 21% — which means nearly 80% of your Salesforce outreach never gets seen.
Physical mail doesn't have an open rate problem. It lands in hands. A well-timed postcard to a new Salesforce lead, or a formal letter to an account with a 60-day-overdue balance, forces a moment of attention that an email simply cannot.
There are three strong reasons to build this integration:
- Speed: Once configured, physical mail can trigger automatically from Salesforce record events — no manual printing, no trips to the post office.
- Personalization: Variable data merge means every letter or postcard pulls the recipient's name, company, balance due, or deal amount directly from Salesforce fields.
- Paper trail: For legal notices, demand letters, or collections correspondence, USPS physical mail creates an auditable record. Email does not.
The mechanics are simpler than most teams expect. WriteToMail handles the printing, postage, and USPS delivery. Your job is getting the right data out of Salesforce.
The Three Integration Methods
There's no single right way to connect Salesforce to WriteToMail. The best approach depends on your technical resources, mailing volume, and how often you need to trigger sends.
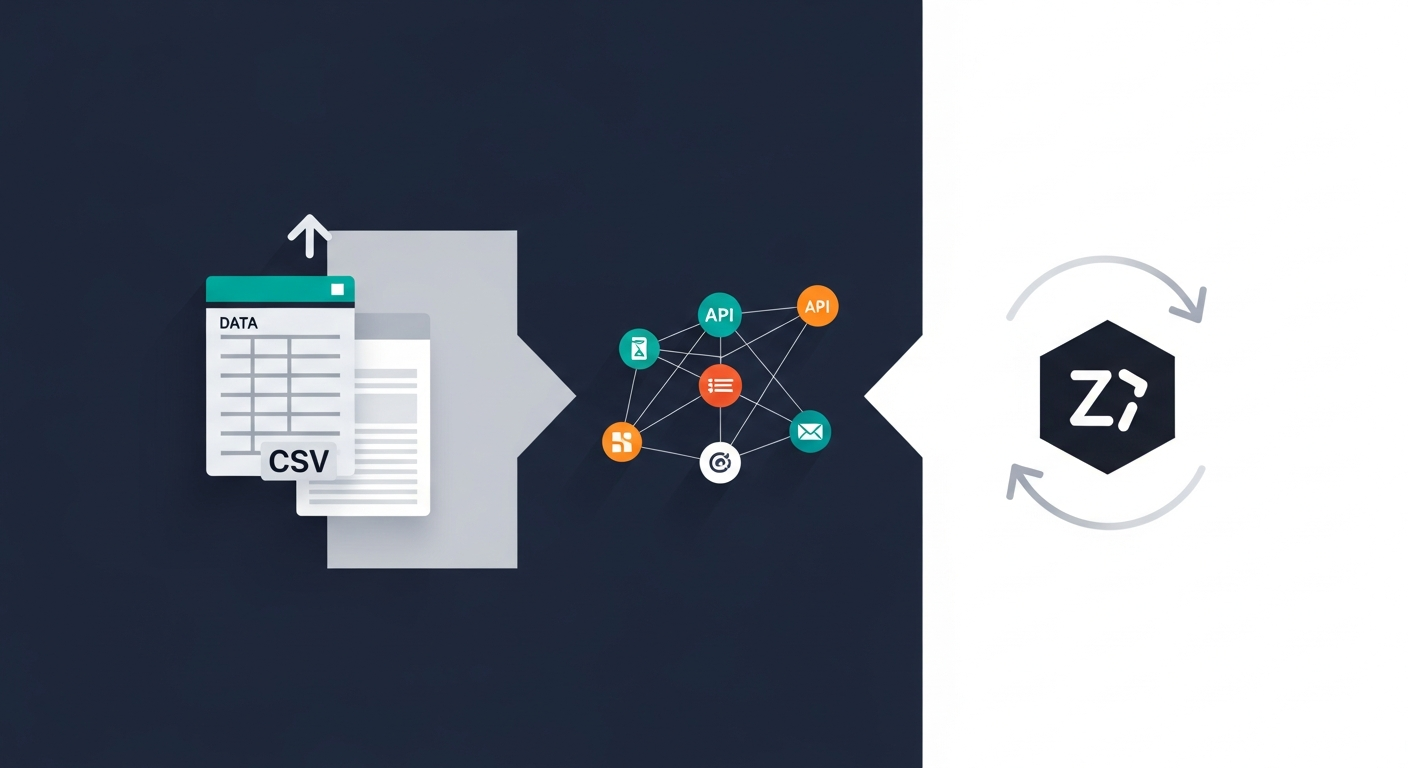
Method 1: CSV Export → Bulk Upload (No Code Required)
This is the fastest path for teams without developer resources. It works for any recurring use case where you're mailing a defined list on a schedule — monthly past-due account notices, quarterly win-back campaigns, post-event follow-ups.
Step-by-step:
Build your Salesforce report or list view. Filter your Contacts, Leads, or Accounts by the criteria that matter — overdue invoices, closed-won deals in the last 30 days, new leads added this week.
Export to CSV. From any Salesforce list view or report, click the export button and choose CSV format. Make sure your export includes: First Name, Last Name, Company (optional), Street Address, City, State, ZIP Code, and any merge fields you want to use in the mail piece (Account Balance, Deal Value, Rep Name, etc.).
Clean your CSV. Salesforce exports can include extra columns and inconsistent capitalization. Remove unnecessary columns. Make sure address fields are in separate columns — not combined into one "Full Address" cell. WriteToMail's bulk upload expects standard column headers.
A clean CSV header row looks like this:
FirstName,LastName,Company,Address1,City,State,Zip,AmountDue,RepNameCreate your mail piece in WriteToMail. Log in, choose letter or postcard, and compose your content. Use double-bracket placeholders that match your CSV column headers — for example,
{{FirstName}},{{AmountDue}},{{RepName}}.Upload your CSV. Map each column to the corresponding placeholder in your template. WriteToMail's bulk mailing engine handles the merge, printing, and USPS delivery.
Review and send. Preview a sample personalized piece, confirm the recipient list, and submit. Every recipient gets their own individually addressed, printed piece.
For a deeper walkthrough of this workflow, the guide on bulk direct mail from spreadsheet covers data formatting, variable field mapping, and common CSV errors in detail.
Method 2: Zapier Automation (Trigger-Based, No Dev Required)
Zapier lets you connect Salesforce events to WriteToMail without writing a line of code. This method works best for triggered sends — mail that goes out when something specific happens in Salesforce.
Common Zapier trigger scenarios:
- A Lead is created in Salesforce → send a welcome postcard
- An Opportunity moves to "Closed Won" → send a thank-you letter
- An Account's "Days Overdue" field crosses 30 → send a payment reminder letter
- A Contact's "Renewal Date" is 60 days away → send a re-engagement postcard
Setup walkthrough:
Create a new Zap. In Zapier, select Salesforce as the trigger app.
Choose your trigger event. Options include "New Record," "Updated Record," or "New Record in Report." For closed-won deals, choose "Updated Record" on the Opportunity object, filtered by Stage = Closed Won.
Test the trigger. Zapier will pull a sample record from Salesforce to confirm the connection is working and fields are mapping correctly.
Add the WriteToMail action step. In the action step, use WriteToMail's Zapier integration (or use a Webhook action if you're connecting via API — covered in Method 3). Map the Salesforce fields — Contact Name, Mailing Address, and any custom fields — to the required inputs.
Configure your mail template. Specify which letter or postcard template to use, and confirm the variable fields are pulling correctly from the Salesforce record.
Turn on the Zap. From this point forward, every qualifying Salesforce event triggers an automatic physical mail send.
One important note: Zapier's polling interval on standard plans checks for new trigger events every 5–15 minutes. If you need near-real-time sends (under 2 minutes), the API method below is the right choice.
Method 3: Salesforce API → WriteToMail API (Developer Method)
For development teams who want full control over triggers, logic, and error handling, connecting Salesforce to WriteToMail via API is the cleanest approach. This method supports complex conditional logic — for example, send a formal demand letter only if an account is 90+ days overdue AND has a balance over $500.
If you're new to programmatic physical mail, the physical mail API for developers guide covers the fundamentals of how API-based mail automation works, including triggered billing notices and customer communications.
High-level architecture:
Salesforce Record Event
        ↓
Salesforce Flow or Apex Trigger
        ↓
Outbound HTTP Callout to WriteToMail API
        ↓
WriteToMail prints, stamps, and mails via USPS
Step-by-step:
Set up a Salesforce Flow or Apex Trigger. Use Salesforce Flow (no-code) or Apex (code) to detect the record event you want to act on. For example, a Flow that fires when an Invoice record's "Days Overdue" field is updated to 30.
Build the HTTP callout. From the Flow or Apex trigger, make an outbound HTTP POST request to WriteToMail's API endpoint. The request body should include the recipient's address, your mail template ID, and any variable data fields.
A minimal API request body (JSON) looks like this:
{
  "template_id": "tmpl_abc123",
  "recipient": {
    "name": "{{Contact.Name}}",
    "address1": "{{Contact.MailingStreet}}",
    "city": "{{Contact.MailingCity}}",
    "state": "{{Contact.MailingState}}",
    "zip": "{{Contact.MailingPostalCode}}"
  },
  "variables": {
    "AmountDue": "{{Invoice.Balance__c}}",
    "DueDate": "{{Invoice.Due_Date__c}}"
  }
}
Handle authentication. Include your WriteToMail API key in the request header. Store this in Salesforce Named Credentials — never hardcode it in Apex.
Log the response. Store the API response (including the mail piece ID) back on the Salesforce record. This gives you a full audit trail — you can see exactly when a physical piece was sent to each account.
Test in sandbox first. Run your trigger against test records before activating in production. Confirm that address fields are mapping cleanly and that the mail preview looks correct.
Use Cases That Work Well in Practice
Postcards to new leads within 24 hours. When a lead comes in through your website and gets created in Salesforce, a triggered postcard can hit their mailbox within 3–5 business days. Most competitors are still on email drip sequence #1. You're the only one who sent something they can hold.
Past-due invoice letters to accounts. AR teams spend hours chasing payments over email. A formal letter — mailed automatically when an invoice crosses 30 days overdue — signals seriousness in a way no email does. For accounts over 90 days, a demand letter sent via USPS creates a documented paper trail that matters if the matter escalates.
Thank-you cards after deal close. Closed-won is not the end of the relationship — it's the beginning. A handwritten-style thank-you card (or a well-designed postcard) mailed automatically when an Opportunity moves to Closed Won is a differentiated touch that most CRM-heavy sales teams never bother with. It costs less than a cup of coffee per send.
Re-engagement campaigns for dormant contacts. Export a Salesforce report of Contacts with no activity in 180+ days, upload the CSV, and send a physical postcard. Response rates on physical re-engagement mail routinely outperform email for cold lists — one study by USPS and Temple University found that physical mail generated higher brand recall than digital equivalents.
Common Configuration Options
Template selection. WriteToMail supports letters and postcards. Letters are better for formal communications — payment demands, legal notices, detailed proposals. Postcards work for quick outreach, promotions, and event-driven follow-ups. See the comparison in postcard vs. letter direct mail if you're unsure which format fits your use case.
Variable data merge. Map as many Salesforce fields as your template needs. Common variables for sales use cases: First Name, Company, Rep Name, Deal Value. For AR use cases: Account Number, Amount Due, Due Date, Days Overdue.
USPS First-Class Mail delivery. All mail sent through WriteToMail goes via USPS First-Class Mail. Typical delivery time is 3–5 business days from the send date.
Single sends vs. bulk. The CSV method handles bulk. The API and Zapier methods handle individual triggered sends. You can use both — bulk for scheduled campaigns, triggered sends for event-driven automation.
Troubleshooting Common Integration Issues
Addresses failing validation. Salesforce often stores addresses inconsistently — apartment numbers in the wrong field, ZIP codes stored as numbers (losing leading zeros for Northeast ZIP codes like 06001). Clean your address data before upload. WriteToMail validates against USPS address standards, so invalid addresses will flag before sending.
CSV merge fields not populating. If your mail piece shows {{FirstName}} instead of the actual name, the column header in your CSV doesn't exactly match the placeholder in your template. Both are case-sensitive. Double-check for spaces, underscores, and capitalization mismatches.
Zapier trigger not firing. Salesforce's Zapier integration sometimes requires that the record is updated (not just created) to trigger. If your Zap isn't firing on new leads, try switching the trigger from "New Lead" to "Updated Lead" and test again.
API callout errors from Salesforce. If you're getting HTTP 401 errors, your API key isn't being passed correctly in the Authorization header. If you're getting 422 errors, a required field in the request body is missing or malformed — most often the ZIP code or state abbreviation. Check that state values are two-letter abbreviations (CA, not California).
Duplicate sends. On the Zapier method, deduplication logic matters. If a Salesforce record gets updated multiple times in quick succession (which happens during data imports), your Zap could fire multiple times for the same record. Add a filter step in Zapier or a "Last Mail Sent Date" field in Salesforce to prevent repeat sends within a set window.
Getting Started
The fastest path is the CSV export method — it requires no code, no Zapier account, and works for most initial use cases. Export your Salesforce list, format the CSV, build your template on WriteToMail, and send.
If your team runs direct mail as an ongoing channel — triggered sends, scheduled campaigns, or high-volume AR outreach — the Zapier or API methods pay for themselves quickly. The setup investment is a few hours. The time saved on manual mailing tasks is measured in days per month.
For teams new to physical mail campaigns and thinking about how this fits into a broader outreach strategy, the direct mail marketing for small businesses guide is a solid starting point. It covers targeting, format decisions, and response rate benchmarks that apply whether you're mailing 50 accounts or 5,000.
The core principle here is simple: Salesforce already has your data. Physical mail already outperforms email on response rates. Connecting the two is a workflow problem — and it's a solved one.
Sources
- Data & Marketing Association — Response Rate Report — direct mail vs. email response rate comparison (4.4% vs. 0.12%)
- Mailchimp Email Marketing Benchmarks — average B2B email open rate benchmark (~21%)
- USPS Office of Inspector General / Temple University Study — physical mail brand recall vs. digital equivalents research