Sending a personalized direct mail campaign to hundreds of customers used to take days — exporting lists, formatting addresses, coordinating with a print shop, and physically visiting the post office. With a properly formatted CSV file and the right platform, you can go from spreadsheet to stamped, addressed mail in under 15 minutes.
This guide walks you through exactly how to run a direct mail campaign from CSV — from formatting your data correctly to mapping variable fields, segmenting your list, and avoiding the mistakes that cause campaigns to fail or get returned.
What you'll achieve: A live, personalized direct mail campaign — postcards or letters — sent via USPS First-Class Mail to every recipient on your list, without touching a printer or stepping foot in a post office.
Prerequisites
Before you start, make sure you have:
- A CSV file with recipient names and mailing addresses (details on formatting below)
- Your letter or postcard content ready — or at least a draft
- A WriteToMail account (free to create)
- A clear goal for the campaign — promotional offer, payment reminder, legal notice, customer re-engagement, etc.
Your CSV doesn't need to be perfect before you begin. But it does need to meet USPS addressing requirements and match the variable fields you plan to use in your mail content. More on both below.
Step 1: Format Your CSV File Correctly
Expected outcome: A clean, error-free spreadsheet that the platform can read without manual correction.
This step matters more than most people expect. A poorly structured CSV is the single most common reason bulk mail campaigns get delayed or rejected.
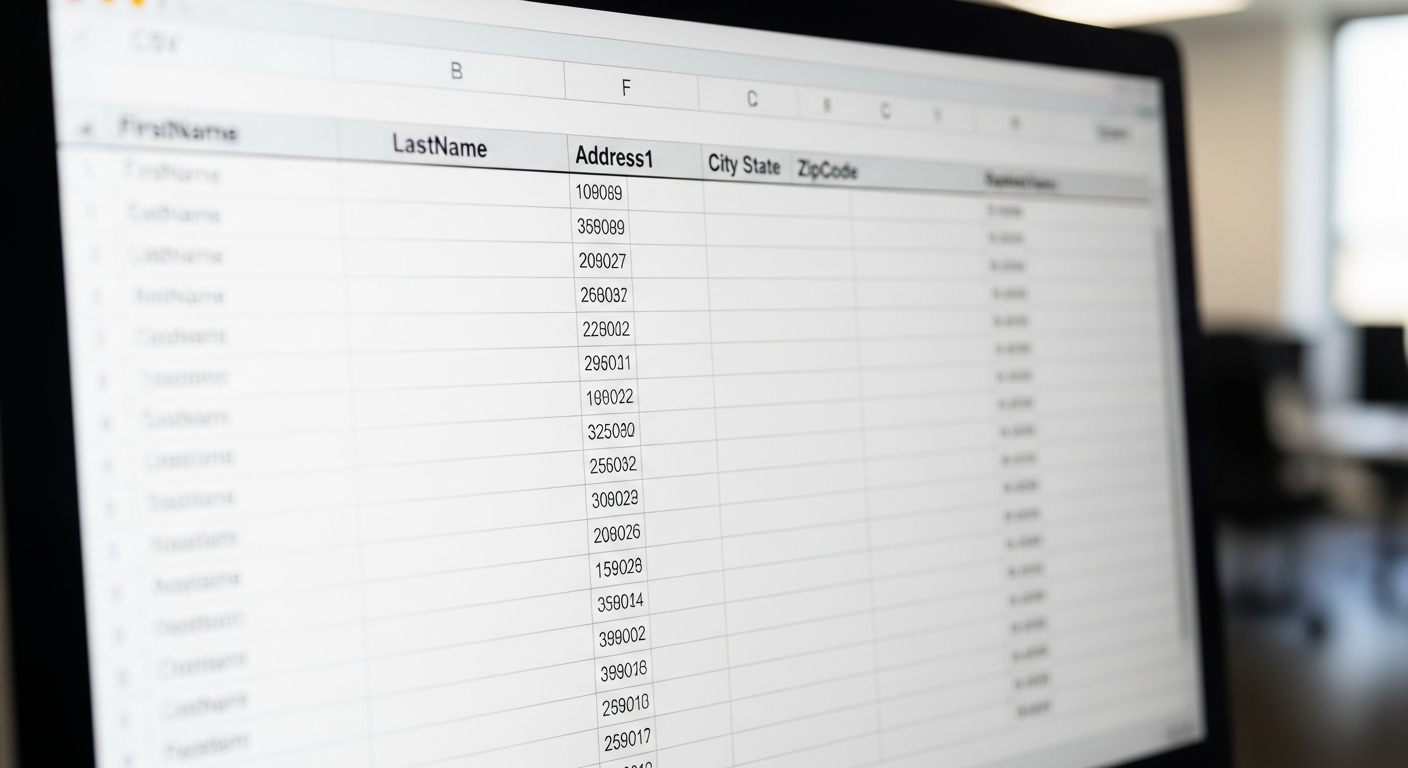
Required columns
At minimum, your CSV needs these columns:
| Column Name | Example Value |
|---|---|
| FirstName | Sarah |
| LastName | Nguyen |
| Address1 | 847 Maple Street |
| Address2 | Apt 3B (optional) |
| City | Austin |
| State | TX |
| ZipCode | 78701 |
Column names should be consistent — no spaces at the start or end, no special characters. Use CamelCase or underscores (e.g., FirstName or first_name). The platform reads these headers to map your variable fields.
Additional columns for personalization
Any column you add can become a variable field in your mail content. Common additions include:
AmountDue— for invoices or payment remindersAccountNumber— for customer-facing referencesExpirationDate— for subscriptions or offersPropertyAddress— for landlords or real estate campaignsCustomMessage— for fully personalized notes per recipient
Formatting rules that prevent errors
- Save as
.csv, not.xlsxor.xls - Use UTF-8 encoding (especially if names include accents or special characters)
- No merged cells, formulas, or hidden rows
- ZIP codes formatted as text — if Excel strips leading zeros (e.g.,
02134becomes2134), your Massachusetts mail goes nowhere - Remove any test rows, blank rows at the top, or duplicate headers
If you're working from Google Sheets, go to File → Download → Comma-separated values (.csv). That's it — no extra formatting needed.
Step 2: Prepare Your Mail Content with Variable Fields
Expected outcome: A letter or postcard template with dynamic placeholders that pull data from your CSV columns.
Variable data mail merge is what makes bulk direct mail feel personal. Instead of "Dear Customer," your letter opens with "Dear Sarah." Instead of a generic amount, it says "Your balance of $247.00 is due by July 15."
How variable fields work
Variable fields are placeholders in your content that correspond to column headers in your CSV. The format looks like this:
Dear {{FirstName}},

Your account (#{{AccountNumber}}) has a balance of ${{AmountDue}} due on {{DueDate}}.
When the campaign runs, each recipient gets a version of that letter with their specific data filled in. The placeholders are replaced with the actual values from their row in your spreadsheet.
Writing your content around variables
A few practical tips:
- Keep variable fields short. A
{{CustomMessage}}field that contains 400 words will break your layout. Use variable fields for names, numbers, dates, and short phrases — not paragraphs. - Account for blank fields. If
Address2is empty for some recipients, make sure your template doesn't print a blank line where an apartment number would go. - Test with edge cases. Find the recipient with the longest name, the highest dollar amount, and the most unusual address. Preview their output before launching.
For businesses sending postcards as part of a broader outreach strategy, the same variable field logic applies — you can personalize the message side of a postcard with the same CSV columns used for letters.
Step 3: Upload Your CSV to WriteToMail
Expected outcome: Your recipient list is loaded into the platform, addresses are validated, and you can see a count of valid vs. flagged records.
Log into WriteToMail and navigate to the bulk mailing section. The CSV upload interface accepts your file directly — drag and drop or browse to select.
Once uploaded, the platform reads your column headers and displays a field mapping screen.
Mapping your columns
This is where you connect your CSV columns to the platform's address fields and variable placeholders:
- Map
Address1→ Street Address - Map
City→ City - Map
State→ State - Map
ZipCode→ ZIP Code - Map any custom columns (like
AmountDueorFirstName) to the corresponding variable fields in your content
If your column names match standard expectations, many fields will auto-map. Review them anyway — a mismatched city/state column will produce misdelivered or undeliverable mail.
Address validation
After mapping, the platform runs address validation against USPS data. You'll typically see three categories:
- Valid — address confirmed, ready to send
- Corrected — minor fix applied (e.g.,
Stret→Street, or ZIP corrected to match city) - Undeliverable — address couldn't be verified; these rows are flagged for your review
Don't skip the undeliverable review. Some of those addresses are salvageable — a missing apartment number, a wrong ZIP code, a misspelling you can correct directly in the platform or in your original CSV.
Step 4: Design or Finalize Your Mail Piece
Expected outcome: A print-ready letter or postcard with your content, personalization fields, and formatting locked in.
WriteToMail gives you a rich text editor for letters — control over fonts, styles, colors, and layout. For postcards, you design the visual and message sides.
Letter formatting tips
- Keep line length readable — don't run text edge to edge
- Use a professional font at 10–12pt for body copy
- Your return address appears in the top-left of the envelope automatically
- If you're sending a formal notice (demand letter, payment reminder, legal correspondence), a clean, simple layout reads as more authoritative than a heavily designed one
Postcard formatting tips
- The address side is formatted automatically from your CSV data
- The message side is where your design and variable fields live
- Short, punchy copy performs better on postcards — recipients decide in 3 seconds whether to read further
If you're unsure which format suits your campaign, the comparison in this postcard vs. letter breakdown covers response rates, cost differences, and use cases for both formats with actual data.
Step 5: Segment Your List (Optional but Recommended)
Expected outcome: Separate campaigns targeting different customer groups with tailored messages — higher relevance, better response rates.
Uploading a single CSV with 2,000 contacts and sending them all the same message is functional. It's not optimal.
Segmentation means splitting your list before or during upload so different groups get different content. Common segmentation approaches:
- By geography — customers in one region get a local offer; another region gets a different one
- By spend or account status — high-value customers get a loyalty offer; lapsed customers get a win-back message
- By product or service type — a plumbing company might send different postcards to customers who've had emergency repairs vs. annual maintenance
- By amount owed — collections or AR teams often send different letter tones depending on how overdue an account is
You don't need separate CSV files for each segment. Add a Segment column to your original file, then filter before upload — or use a separate upload per segment with a different letter template.
Direct mail marketing for small businesses works best when the message matches the recipient's situation. A 20% discount offer sent to customers who already paid in full is wasted postage.
Step 6: Preview, Review, and Launch
Expected outcome: Confirmed delivery — your campaign is queued for printing, postage, and USPS First-Class Mail delivery.
Before submitting:
- Preview individual records — especially the first, last, and a few middle rows. Variable fields should be populated, not showing raw placeholder text like
{{FirstName}}. - Check your record count — the platform shows how many pieces will be sent. Confirm it matches your expected list size.
- Review undeliverable addresses — decide whether to fix them or exclude them from this send.
- Confirm your return address — this is what appears on the envelope if a piece is undeliverable and returned.
- Select your mail type — letter or postcard, and confirm USPS First-Class Mail delivery.
Once you submit, WriteToMail handles everything: printing, folding (for letters), envelope insertion, postage, and handoff to USPS. You don't touch a printer, a label, or a stamp.
For teams sending large-volume campaigns regularly, the how to send bulk mail online guide covers recurring workflow setups and what to expect from First-Class Mail delivery timelines.
Common CSV Errors to Avoid
Most campaign failures trace back to avoidable data errors. Here are the ones that cause the most problems:
1. ZIP codes with missing leading zeros
Excel automatically converts ZIP codes like 02134 (Boston) to the number 2134. The fix: format the ZIP column as "Text" before entering data, or add an apostrophe before the number ('02134) to force text formatting in Excel.
2. Inconsistent state formats
Some rows say "Texas," others say "TX." Pick one format and apply it consistently. USPS addressing standards use two-letter abbreviations — use those.
3. Encoding issues with special characters
Names like "García" or "Jörgensen" can corrupt if your file isn't saved as UTF-8. In Excel: File → Save As → CSV UTF-8 (Comma delimited). In Google Sheets, UTF-8 is the default export format.
4. Extra spaces in column headers
A header named FirstName (with a leading space) won't auto-map and might be read as a new, unrecognized field. Trim all headers before uploading.
5. Blank rows between records
Excel sometimes generates blank rows when you delete data or copy/paste from another source. A blank row interrupts the CSV read and can cause the platform to stop importing at that point. Delete all empty rows before saving.
6. Using the wrong delimiter
CSV means "comma-separated values." If your file uses semicolons or tabs as separators (common in European Excel exports), the platform will read your entire row as a single field. Re-export with comma delimiters, or convert using a text editor.
7. Forgetting to test variable fields
Launching a 500-piece campaign only to find {{AmountDue}} printed literally on every letter — because the column was named Amount Due with a space — is expensive. Always preview at least 5 records before confirming the send.
Troubleshooting
"My addresses are showing as undeliverable but they're correct." Check for missing apartment/suite numbers, wrong ZIP codes for the city, or addresses in territories not covered by standard USPS formatting. Puerto Rico and other US territories require specific formatting.
"My variable fields aren't populating."
The column header in your CSV doesn't exactly match the placeholder name in your content. They're case-sensitive. {{firstname}} and {{FirstName}} are different.
"My record count after upload is lower than my CSV row count." The platform likely excluded completely blank rows or duplicate records. Check your original file for blank rows and identical addresses.
"Special characters are showing as garbled symbols." Re-save your CSV as UTF-8 encoding and re-upload.
Next Steps
Once your first campaign is live, a few things worth doing:
- Save your CSV template — clean, properly formatted, with all the right headers. Future campaigns start faster when you have a base file to work from.
- Note your response rate — direct mail response rates average around 4.4% for house lists and 3% for prospect lists, according to the Data & Marketing Association. Tracking your results tells you whether your message, offer, or list needs adjustment.
- Test format variations — if you're unsure whether a postcard or letter performs better for your audience, split your list and test both. The postcard vs. letter comparison gives you a framework for interpreting those results.
- Consider automation — if you're sending recurring campaigns (monthly billing notices, appointment reminders, renewal letters), WriteToMail's platform supports bulk sends on demand, so you can re-upload an updated CSV each cycle without rebuilding from scratch.
Running a direct mail campaign from CSV doesn't require a mail house, a designer, or an afternoon at the post office. It requires clean data, clear content, and about 15 minutes.
Sources
- Association of National Advertisers (ANA) — Direct Mail Response Rate Report — statistics on average direct mail response rates for house lists and prospect lists
- USPS — Postal Addressing Standards (Publication 28) — official USPS guidelines for address formatting, state abbreviations, and ZIP code requirements
- Data & Marketing Association — Response Rate Report — industry benchmarks for direct mail campaign performance
- WriteToMail — Bulk Mailing via CSV — platform documentation and feature descriptions for CSV upload and variable data mail merge
- Google Sheets Help — Export to CSV — instructions for exporting Google Sheets as a UTF-8 CSV file
- Microsoft Support — Format cells as text in Excel — how to preserve leading zeros in ZIP code columns